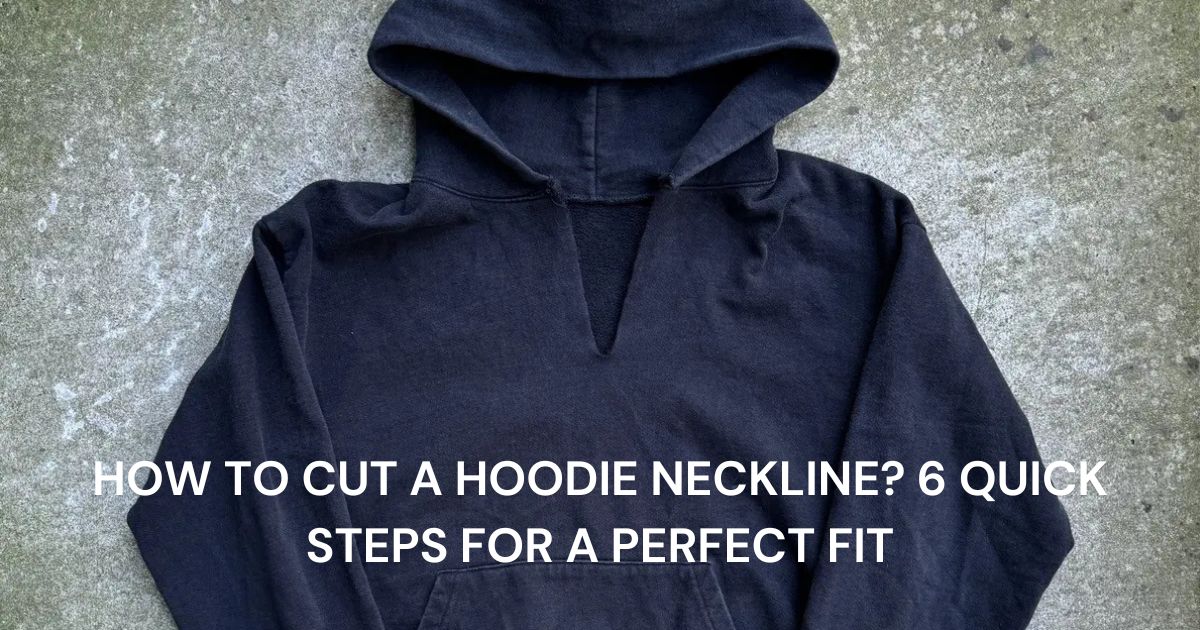
You know when your hoodie feels like a neck hug — and not the good kind? Ugh, so tight! It pulls at your neck and makes it hard to relax. But guess what? In this guide, we’ll show you how to cut your hoodie neckline so it’s comfy and super stylish. Ready to cut some fabric and make your hoodie awesome? Let’s jump in!
How To Cut A Hoodie Neckline?
Cutting your hoodie neckline is a super fun way to give it a fresh new look! Just follow these easy steps, and you’ll have a custom, comfy hoodie in no time. Let’s do it!
Step 1: Gather Materials
Start by gathering materials: scissors, thread, needle, and your hoodie
First things first, grab everything you’ll need:
- Fabric scissors: Get sharp ones so your cuts are nice and clean.
- Hoodie: Pick the one you want to change up!
- Sewing supplies: After cutting, you’ll need a sewing machine (or needle and thread) to put it all back together.
Now you’re all set – let’s get started!
Step 2: Cut the Neckline
Alright, time to grab those trusty scissors! Start snipping around the neckline, trying to get as close to the seam as possible. But hey, no need to go crazy – just make a little cut, about an inch!

Use scissors to carefully cut around the neckline, near the seam, about 1 inch
Do the same thing on both sides and – ta-da! You’ve got the perfect opening! It’s a piece of cake, and once you start, everything will fall into place!!!

Carefully cut around the neckline, repeating on both sides evenly
Step 3: Fold and Align the Hoodie
Once you cut the neckline, it’s time to prepare the hoodie for the next cut! Just grab the front of the hoodie and fold it down the center. This helps create a nice, straight line that divides the hoodie in half. Easy peasy!

Grab the hoodie at the front and fold it down the center
As you fold the hoodie, make sure the seams on both sides line up nicely! Feel the shoulder seams and the neckline seams to check they’re aligned on top of each other. This helps the fabric be symmetrical when you cut down the center. Press the fabric flat to avoid any bumps before making the cut. You got this!

Align seams carefully, press fabric flat, and ensure symmetry before cutting down the center
Step 4: Make the Cut Down the Center
With your hoodie folded, grab your scissors and cut straight down the middle. How far down you go is up to you – just make sure you don’t go too wild unless you want a really deep neckline. Pull the fabric apart a bit, and you’ll see your cute little cut in the middle!

Make a straight cut down the center, as deep as desired
Step 5: Sew the Hoodie Back Together
Now it’s sewing time! Fold the fabric back together and start stitching. Thread your needle, and sew through both pieces of fabric. You’ll want to tie a knot to keep it in place, so do that a few times just to be sure. Then keep sewing till you reach the end. Don’t worry, you got this!

Sew the fabric pieces together, securing the neckline with stitches
Step 6: Final Touches and Additional Sewing
If there’s any extra fabric sticking out, just fold it over and sew it down. Make sure all the stitches are nice and tight, and cut off any loose threads. Then give yourself a high five because your hoodie’s got a brand-new neckline!
If you’re looking to jazz up your hoodie with a laced V-neck, it’s super simple! Just grab a skewer and poke a few holes along the V-neck – about 3 or 4 on each side should do the trick! Then, thread a fun shoelace through the holes like you’re lacing up your favorite pair of shoes.

Add final stitches, trim excess fabric, and secure loose threads
And there you have it, a gorgeous V-neck hoodie! But if you’re more into a crew neckline, no worries at all! We’ve got a super detailed guide for that too, with easy steps and tips on what to watch out for. Don’t miss it – check it out now! You’ll love it!
FAQs
1. Can I make a hoodie neckline wider?
Yes! First, separate the front overlap and put the hood to the side. Next, grab your scissors and recut the neckline, making it a little bigger all around, including the back part. But don’t stretch the fabric too much while you cut! The back is a bit more stable, but it can still stretch funny.
2. Should I trim the neckline of my hoodie before or after washing it?
You should really trim the neckline of your hoodie after washing it! Fabric can shrink or stretch a bit, and you definitely don’t want a weirdly short or uneven neckline. So, wash it first, then trim! You’ll get a way better result – no surprises! Enjoy your comfy hoodie!
3. How do I prevent fraying after cutting the hoodie neckline?
Just sew a little hem along the cut edges. Then, try on your hoodie and see if the neckline feels comfy and just right for you!
Bottom Line
Now that you know how to cut a hoodie neckline, you can fix that annoying tightness and make it feel way better! It’s super quick and easy to do, and your hoodie will look way cooler too. No more dealing with a neckline that’s too snug! Want more fun tips to customize your clothes? Keep checking out our Yes That Hoodie right now!


